
Commercial Pool Construction Process

Step 1. Layout & Set Elevations
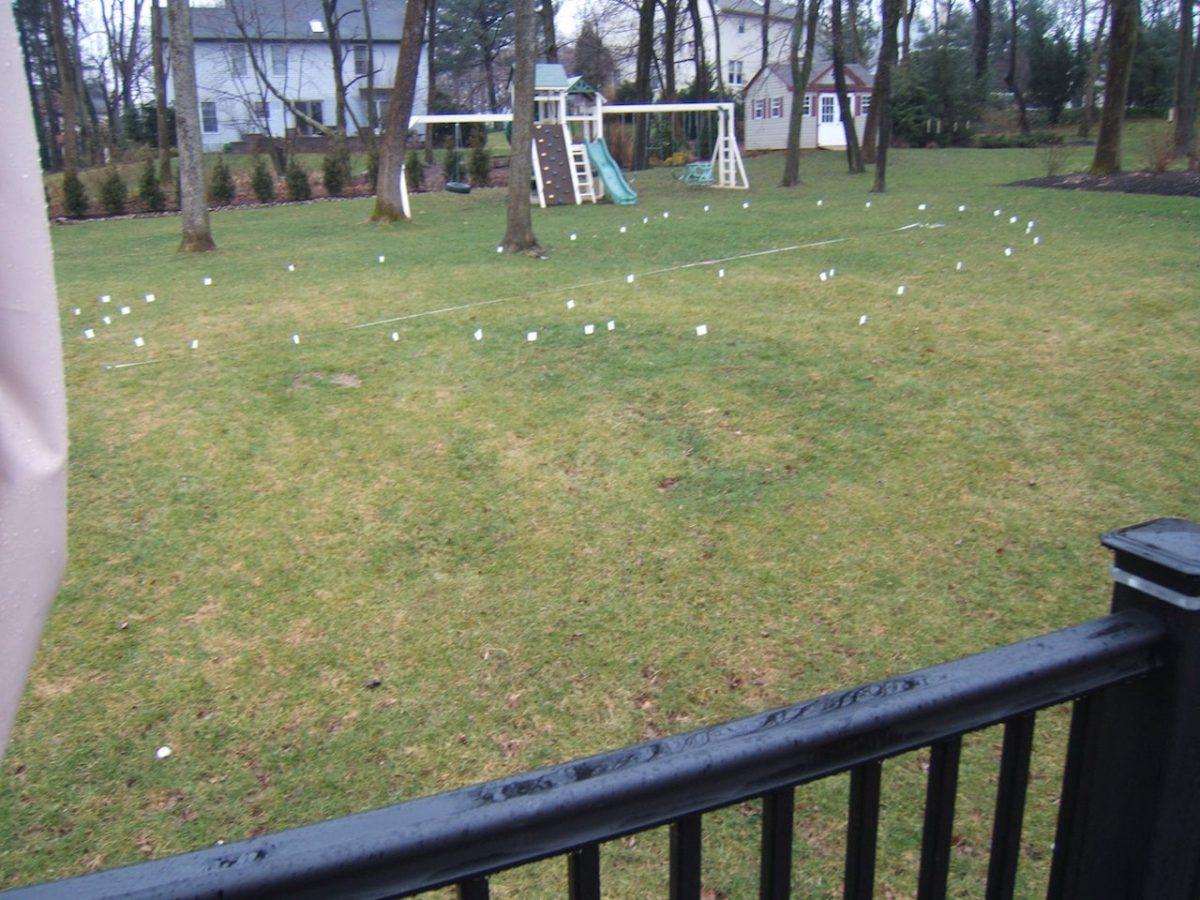
Once engineered plans are approved from the township and the site is ready for construction to begin we will layout the pool with the site project manager. If any adjustments need to be made that can happen easily prior to digging the pool. As a high-end pool builder, we do not cut any corners and build every pool realising that it must serve the community for years to come.
Step 2. Strip Topsoil
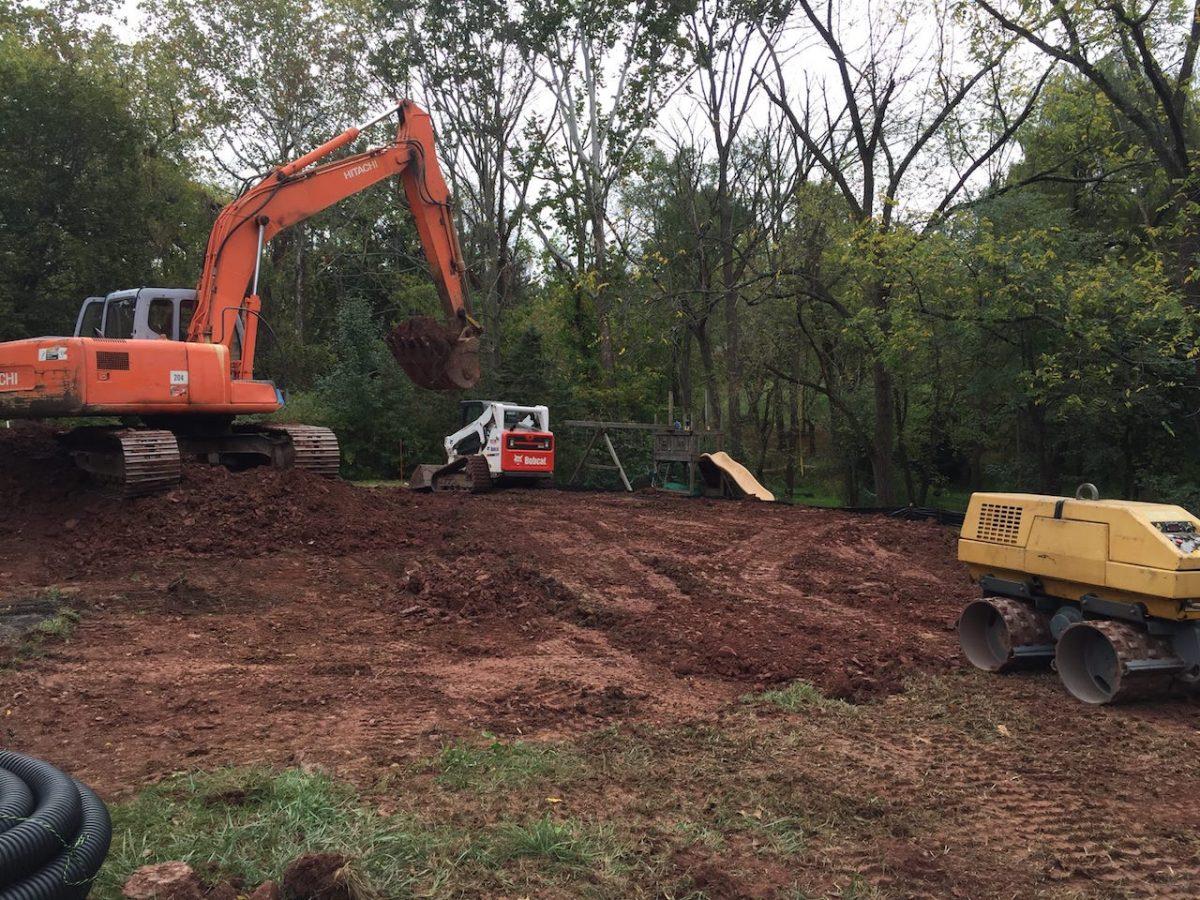
We strip all the topsoil and stockpile the dirt to be returned at the end of the job depending on site conditions. Many companies charge extra machine time and or require you to pay for additional topsoil. We dig our own pools, we do not use any subcontractors so we are able to spend the extra time to grade the job per plan without additional costs
Step 3. Excavate Pool & Pour Filter Pad
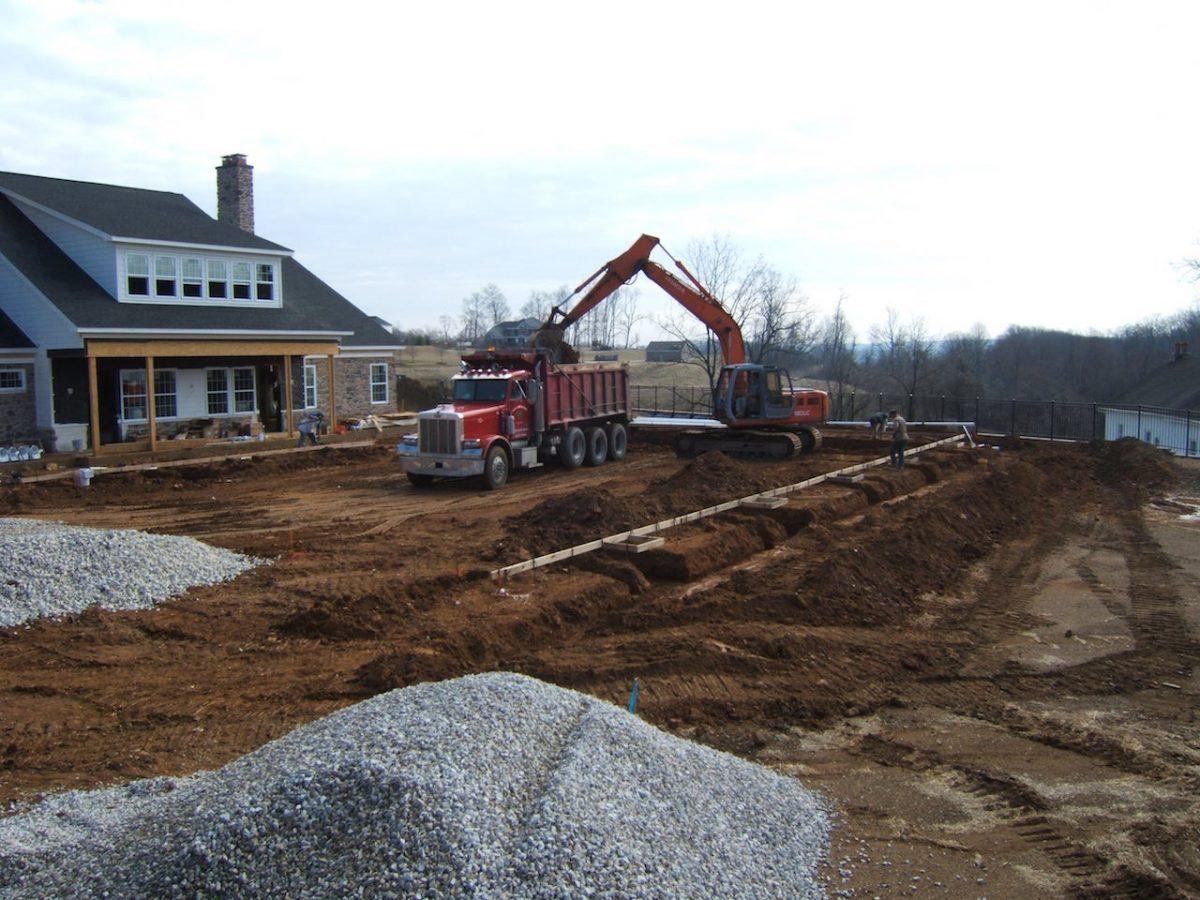
Having our own excavators, backhoes, and triaxles allows us to keep the dig process moving quickly. With experienced operators and drivers, you can rest assured knowing the pool is being dug by professionals with hundreds of hours of experience behind their machine. When digging our pool, we hand shape the sides of the entire pool to ensure a true consistency of Gunite all around the pool.
Step 4. Install Stone Base
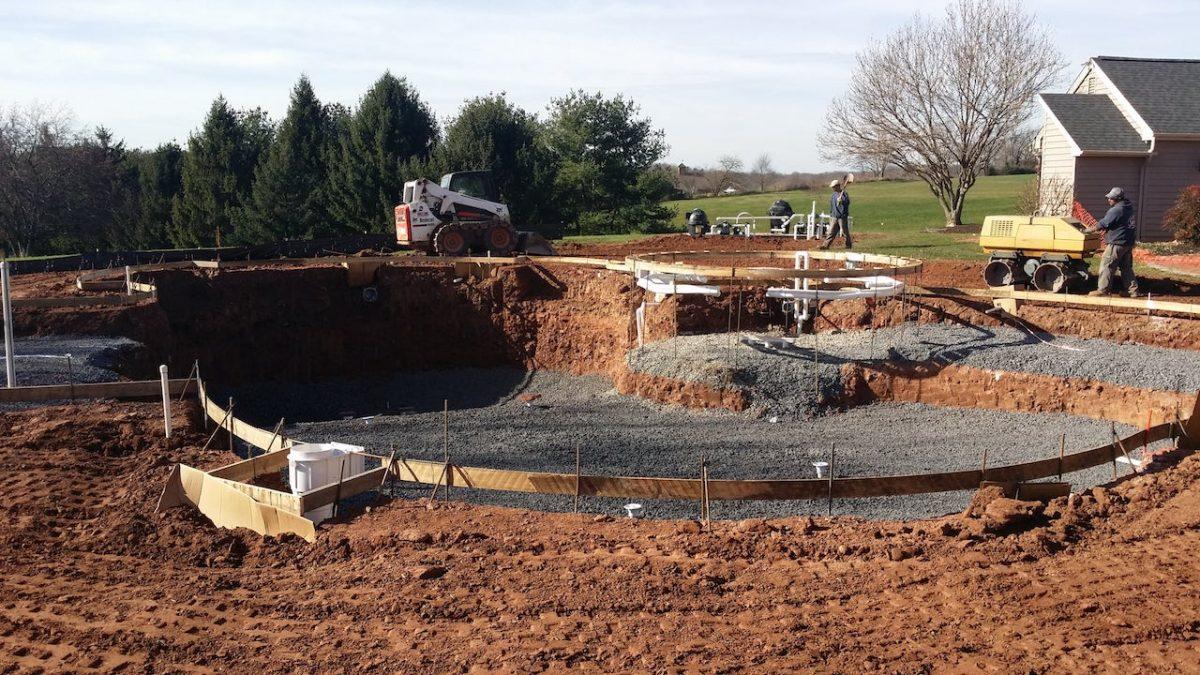
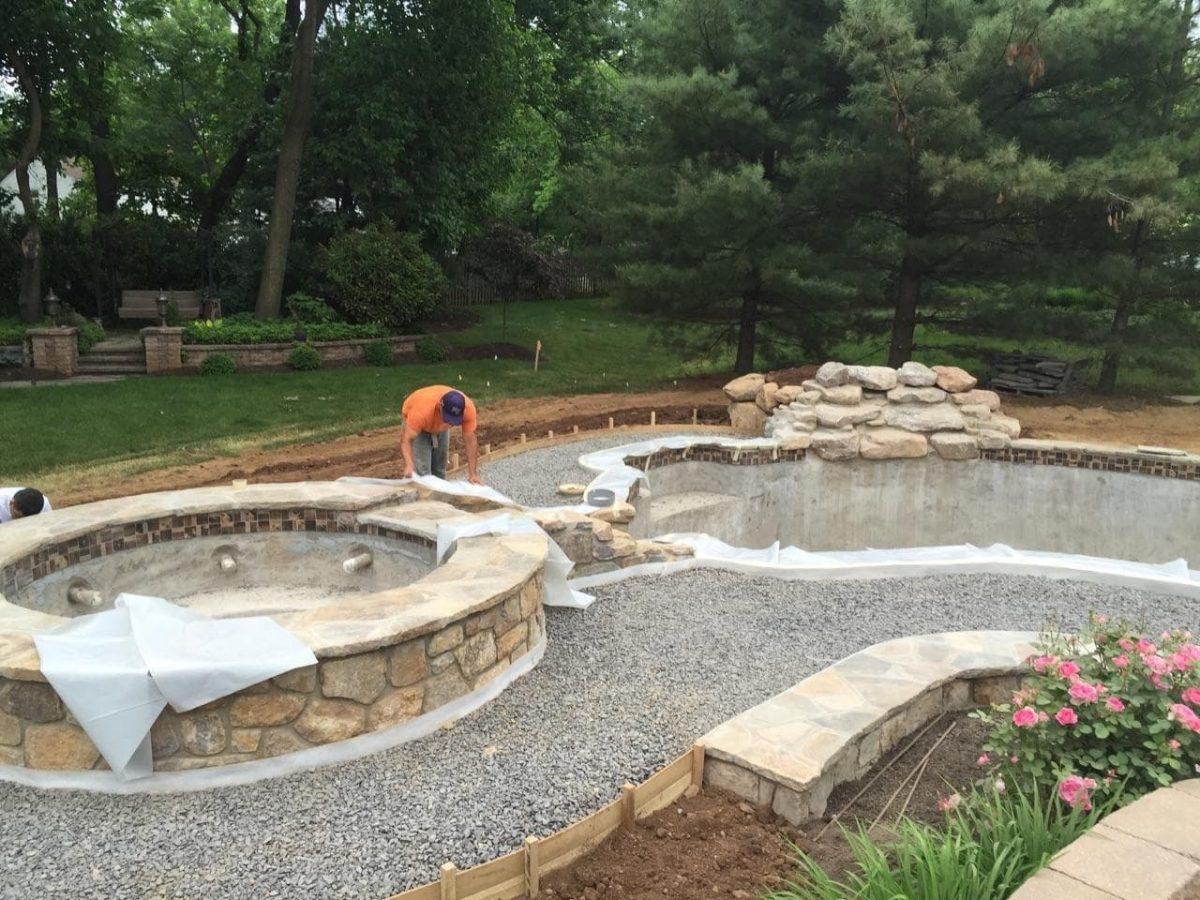
In the Northeast region the freeze and thaw of winter is a constant threat. We take many precautions in the build process to ensure this yearly occurrence will not compromise the structural integrity of your pool. We add stone to the bottom of every pool with hydrostat plugs. These plugs go into the stone and come through the bottom of the pool. Should you ever need to drain your pool you simply unscrew those plugs and any ground water under the pool can flow into the pool. Without this if you ever drained your pool the ground water can pop your entire pool up out of the ground!
Step 5. Install Plumbing and Equipment
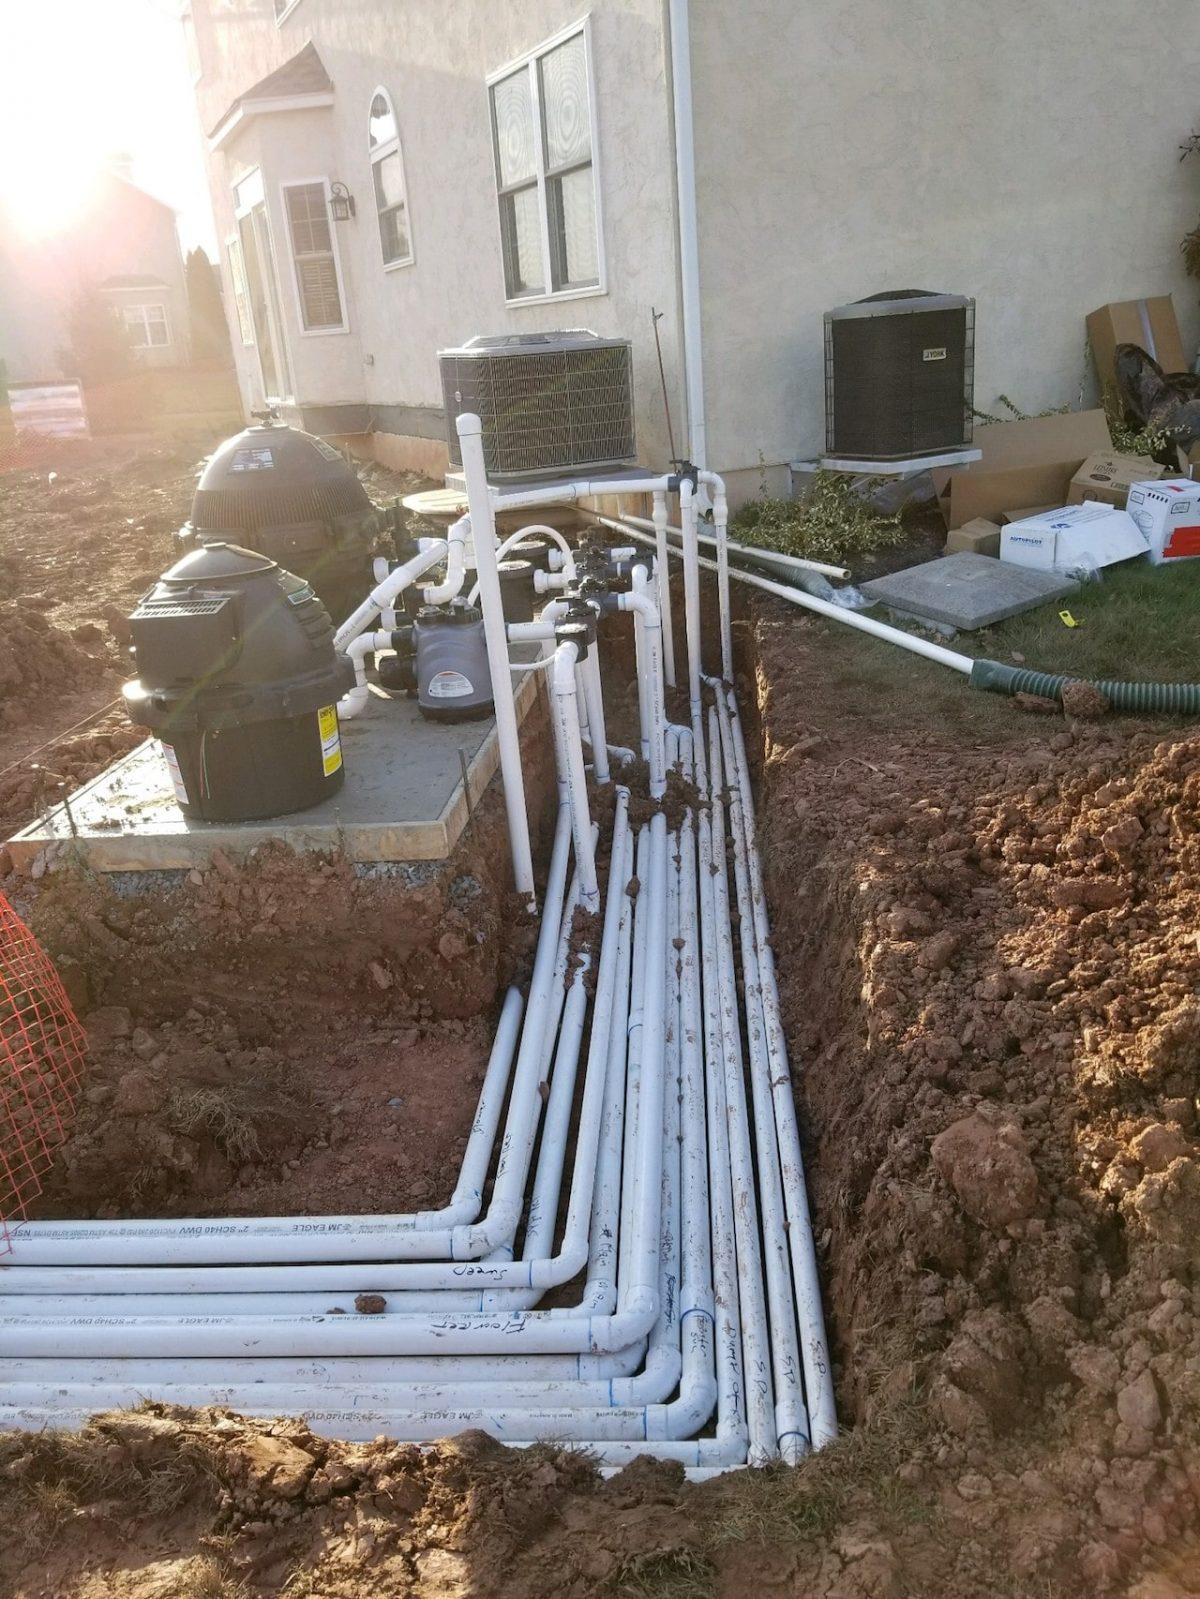
Right after the pool is dug all the plumbing is installed complete. We do not stub plumb any lines, all the plumbing is installed 100%. In doing this we can charge the plumbing system with air from a compressor to ensure there are no leaks. This test gets performed many times throughout the build process to ensure nothing has been broken during construction. We also install any electrical conduit in the same trench with the plumbing this way everything is together and decreases the chance of electrical conduit being damaged later.
Step. 6 Install Steel
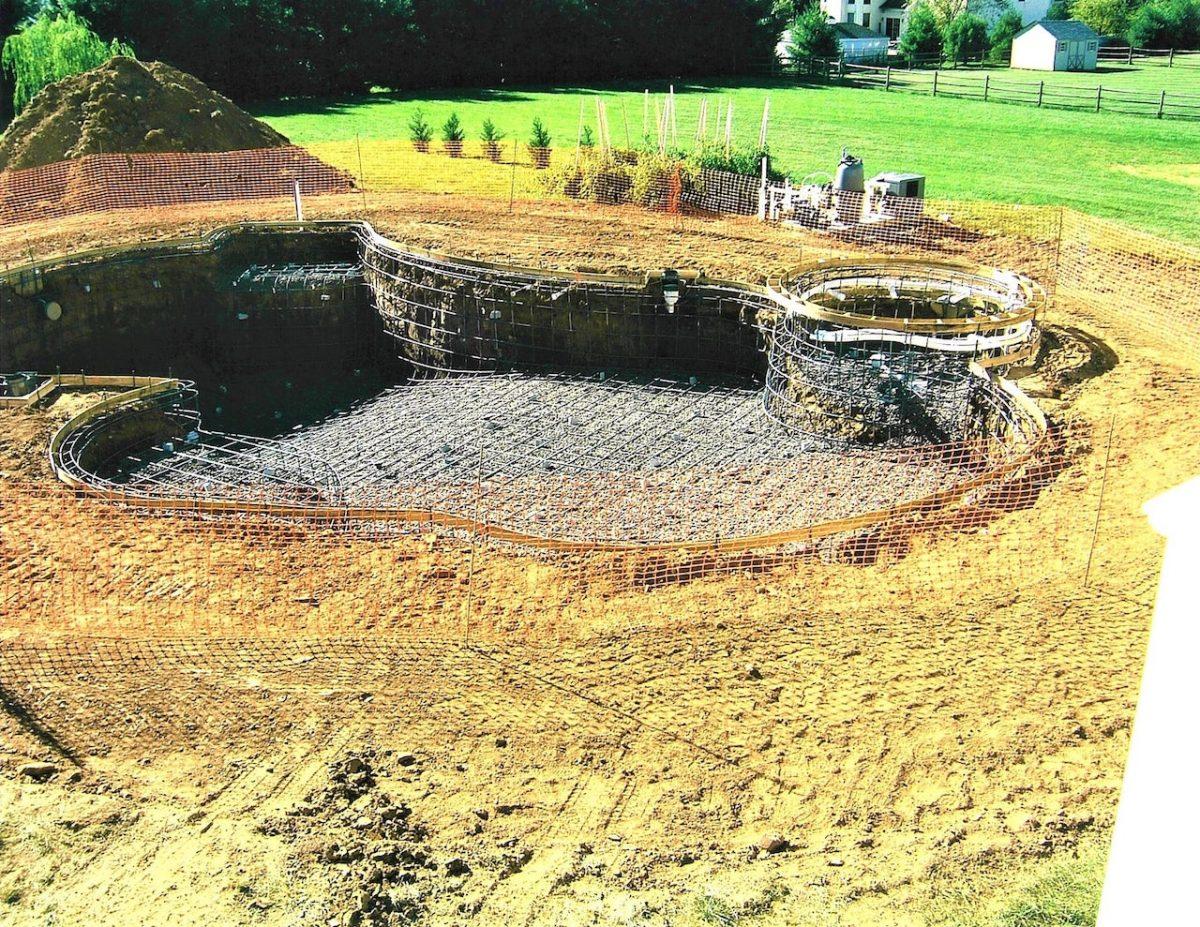
Our entire pool is caged in ½” 8 gauge steel rebar. Many companies use 3/8” 6 gauge steel to save on costs, ½” to 3/8” does not sound like a lot but when comparing side by side the difference is astounding. There are also companies that claim to use ½” throughout their pool but only use it on the bond beam at the top of the pool then drop down to 3/8”. Be sure to keep an eye out for this when choosing your pool builder. Our bond beam which is the top perimeter of the pool contains 4 separate runs of ½” steel to maximum strength to handle freeze and thaw. Our bond beam is 12” thick where other companies are 10” thick
Step 7. Shoot Gunite
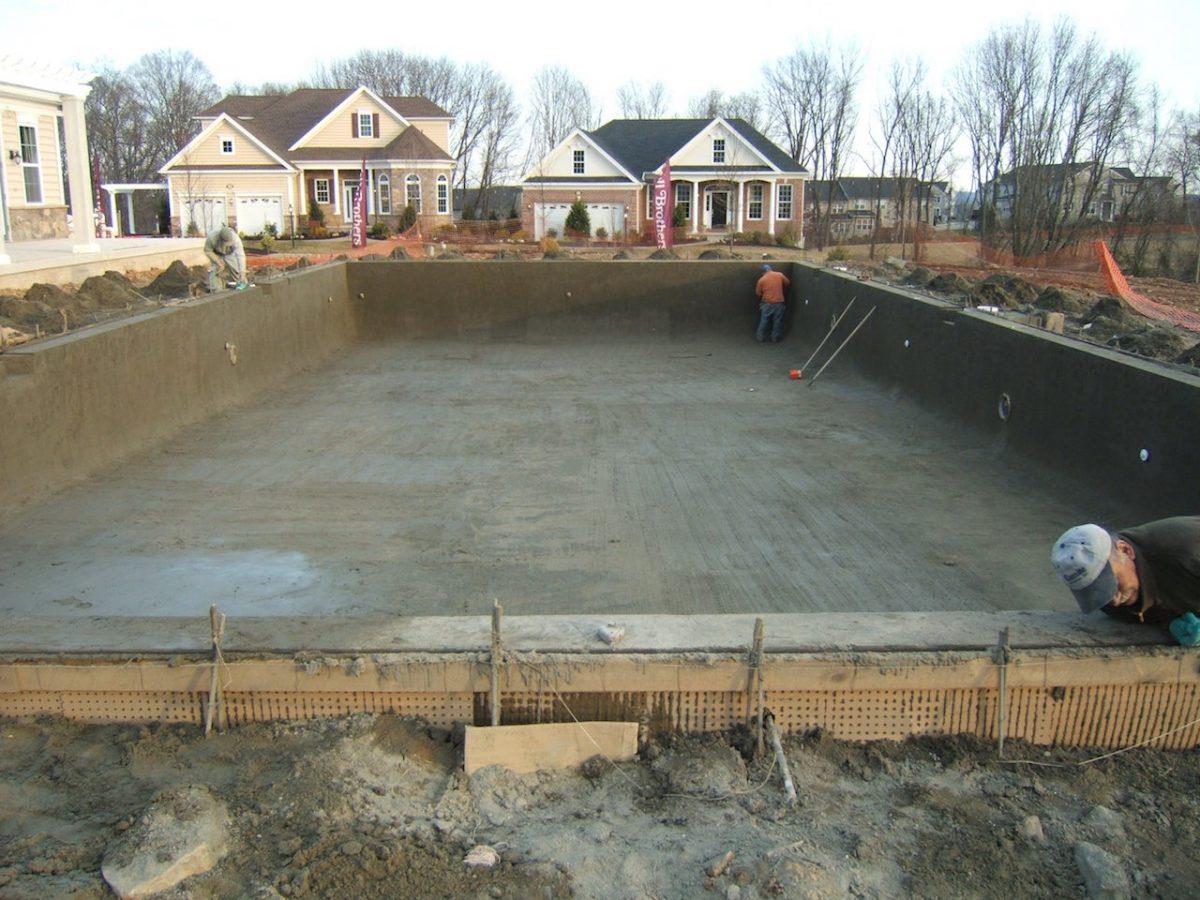
There are two main types of concrete pools. The two choices are Shotcrete or Gunite. Shotcrete is a wet mix. This product is cement out of cement trucks. They pull up with as dry a mix as they can to make stacking easier. The crews then stack this mix up to form the pool walls. Since the mix must be stacked the bottom of the pool is wider, meaning when you swim up to the pool wall you have to lean in to put your arms on the coping. This product is much cheaper and the main reason why many companies still use it today. The nature of concrete as a material is to crack, having a pool shell that can crack will cause major costly repairs down the road. Besides the cracking this product come straight from a concrete plant, which can have problems with their mixes, the trucks can get stuck in traffic making the concrete mix too long, there are a lot of uncontrollable variables where things can go wrong. Especially on a commercial pool that typically is on the larger side this can lead to different concrete being used over a two day period and leading to a poured shell that is not truly bonded as one. Gunite on the other hand while costing more cures to a much higher psi than concrete and is a dry mix. The water for the Gunite is added right at the hose nozzle. This way the applicator can control how much water he is adding at all times. By adding water right at the nozzle the mix comes out perfect with no need to stack the material. When shooting a pool in Gunite the entire pool is shot in one day no matter the size, if needed we will just bring more Gunite trucks. Our pool walls are straight with a small bowl at the floor, this way you can swim up to the side of the pool and stand straight up with the arms on the coping. Once the Gunite is shot you will need to wet down the entire shell for 7 days. This wetting of the shell is what helps the Gunite to cure to its highest and strongest psi.
Step 8. Install Tile & Coping
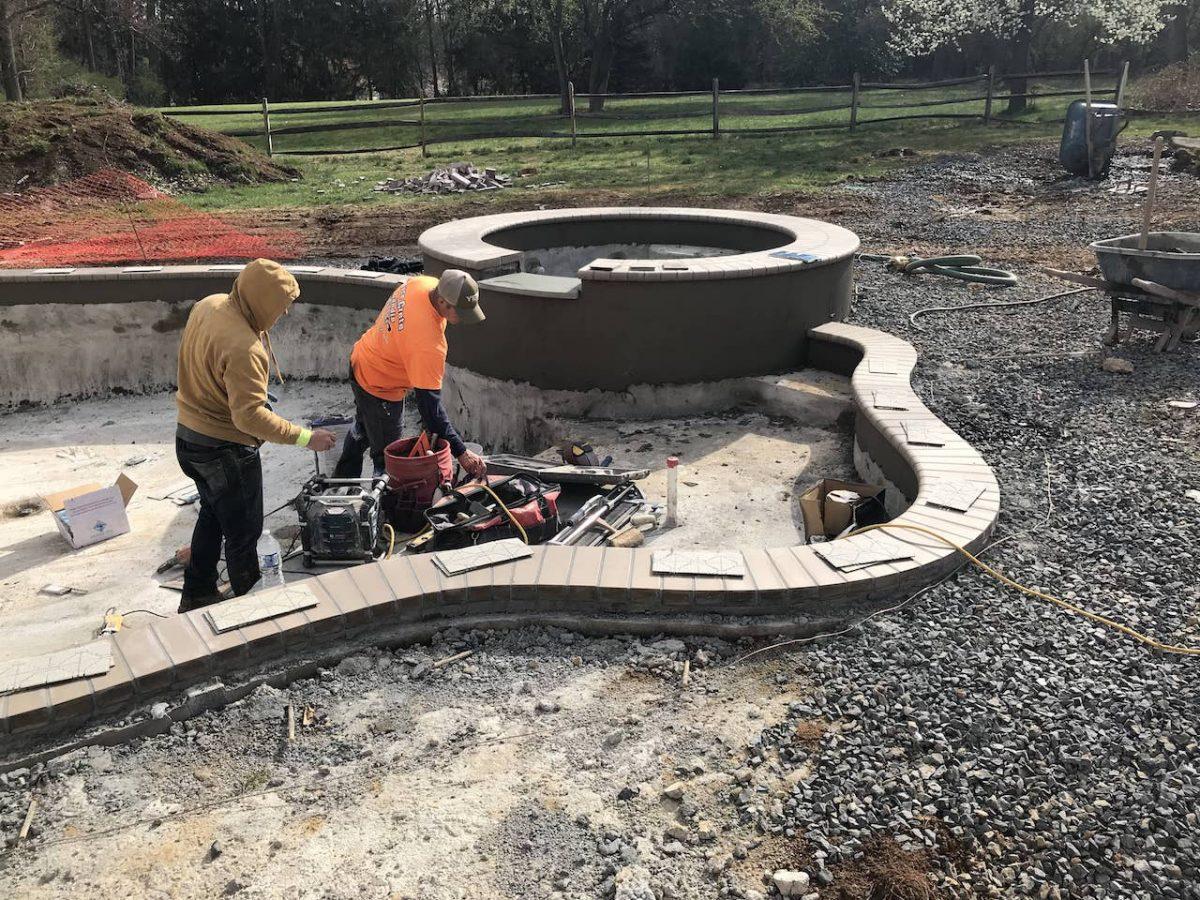
Once the Gunite shell has cured tile and coping will be installed. Normally a one-day process we bring a wet saw to each job and cut every coping brick in order to make a uniform joint around the perimeter of the entire pool. Cast coping and depth tiles are most common on a commercial pool and will be installed at the same time as the pool tile.
Step 9. Pour Deck
With so many different options to choose from for your pool deck, ask to see some pictures of previous jobs, this is a great way to get a feel for what you are really looking for. We install 4” of stone under the concrete to allow it to move with the freeze and thaw of winter. We then pour 4” of concrete per your plan and you will only be charged the square footage price for what we actually pour. We do include some stamped or exposed aggregate concrete decking in our base pricing so you can add whatever you like from there. All of our joints are sawcut for the best finish look. Some companies use plastic expansion joints which break over time and are very difficult to replace.
Step 10. Regrade Topsoil
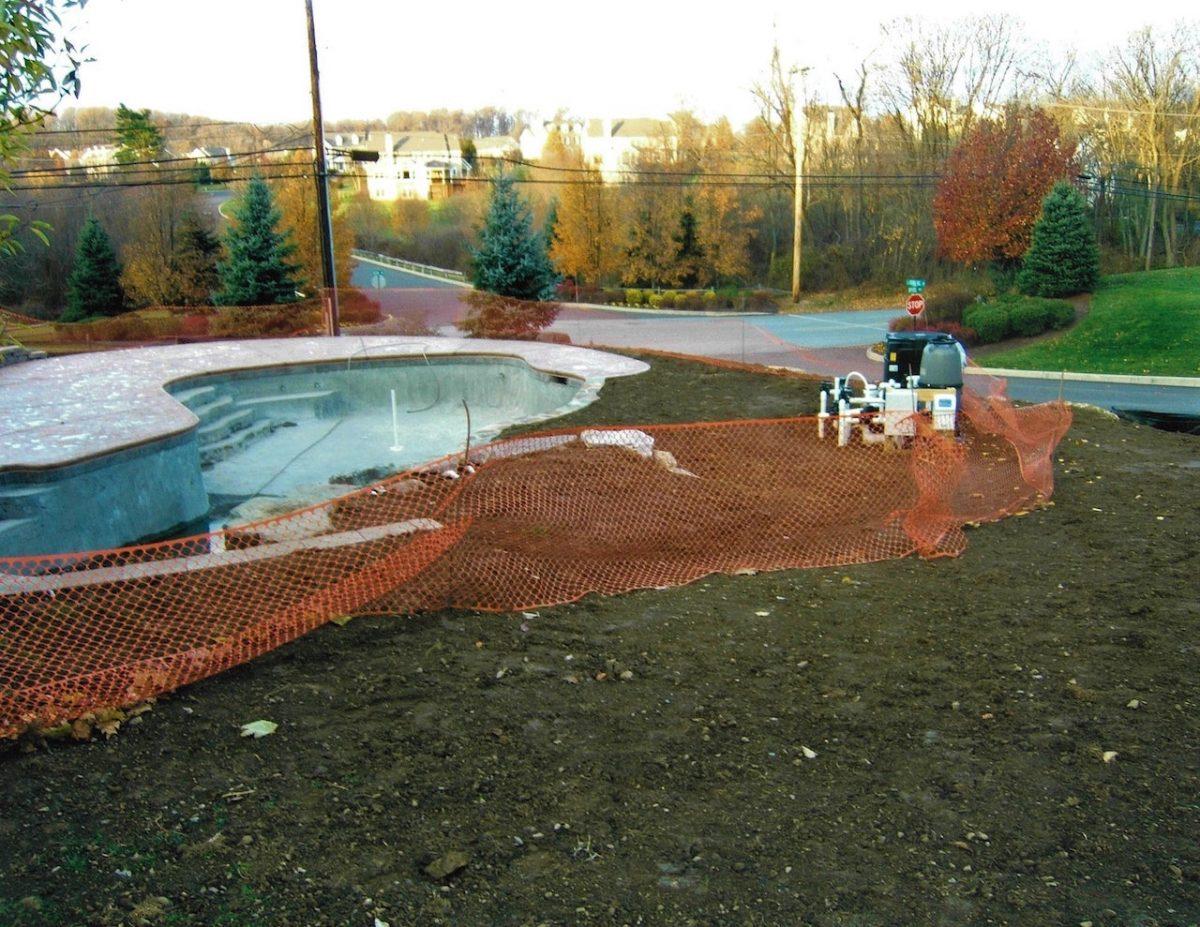
Now that the deck has been poured we are ready to respreads the topsoil that we stripped and stockpiled at the beginning of the job. Many companies will charge a machine hourly rate to re-spread this dirt, we include this at no additional charge. We do offer an additional service we refer to as rake and seed. We bring in a machine with a rake as well as men with hand rakes to fine tune the topsoil and get rid of rocks and branches. We then spread seed so you can grow grass just like before we started the project. Ask us about rake and sod to skip the time to wait for seed to grow, sod is instant grass!!
Step 11. Plaster and Fill
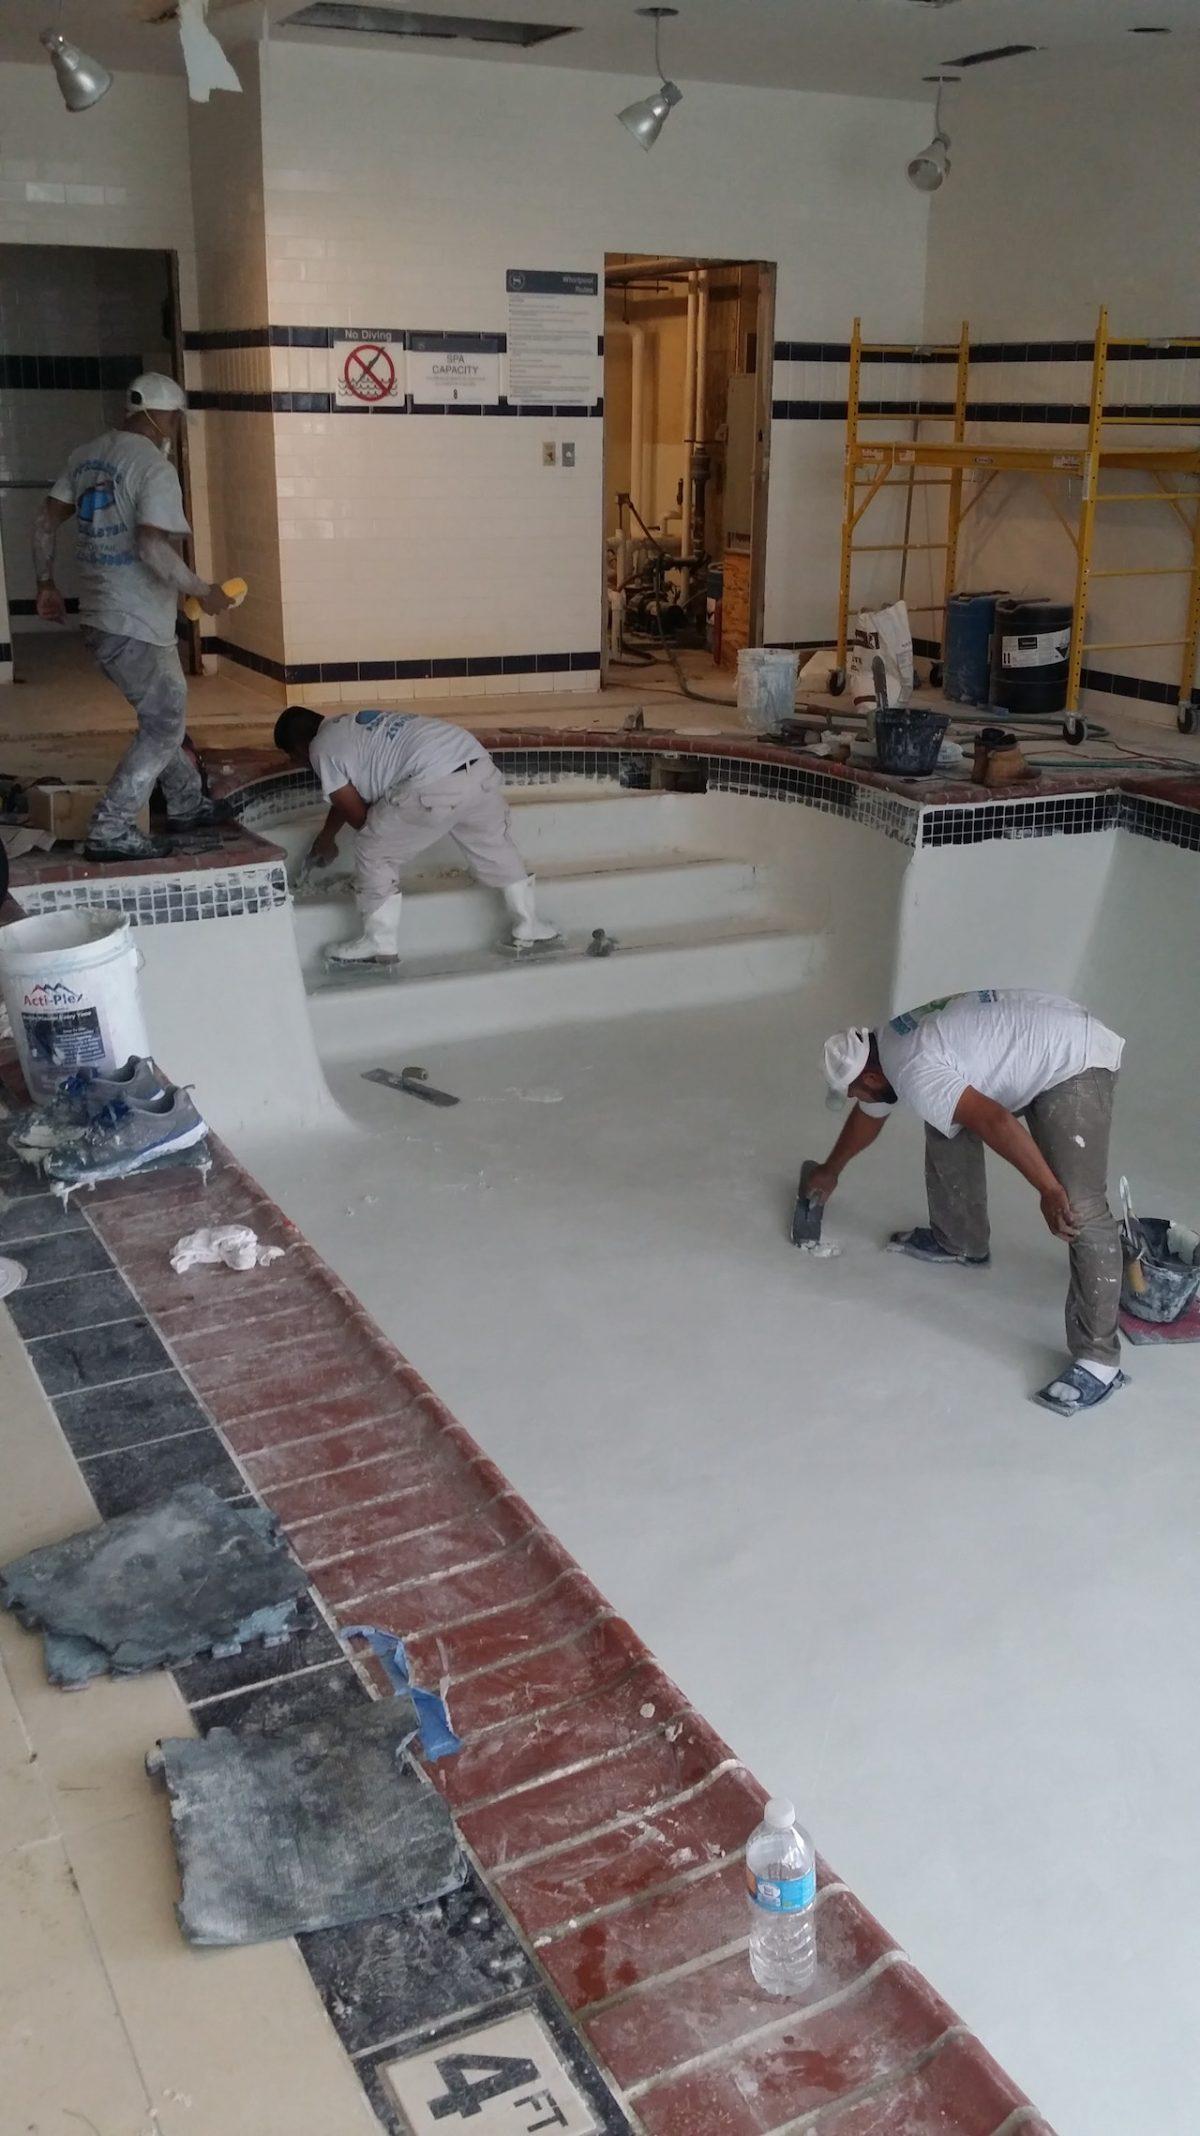
The final step of the build process is the plaster, the finish coat on the inside of the pool. Whatever color you have chosen is hand troweled to a nice smooth finish. When the plaster is first applied it may seem like a different color than the one you picked. Do not panic! Once the plaster is on the plasterers still have to take the cream off the top. Once they finish the process it will look just like the color you chose! Once the pool is plastered it gets filled the same day. Once your water chemistry is balanced your ready to swim!!!
Step 12. Design and Install Landscape Package
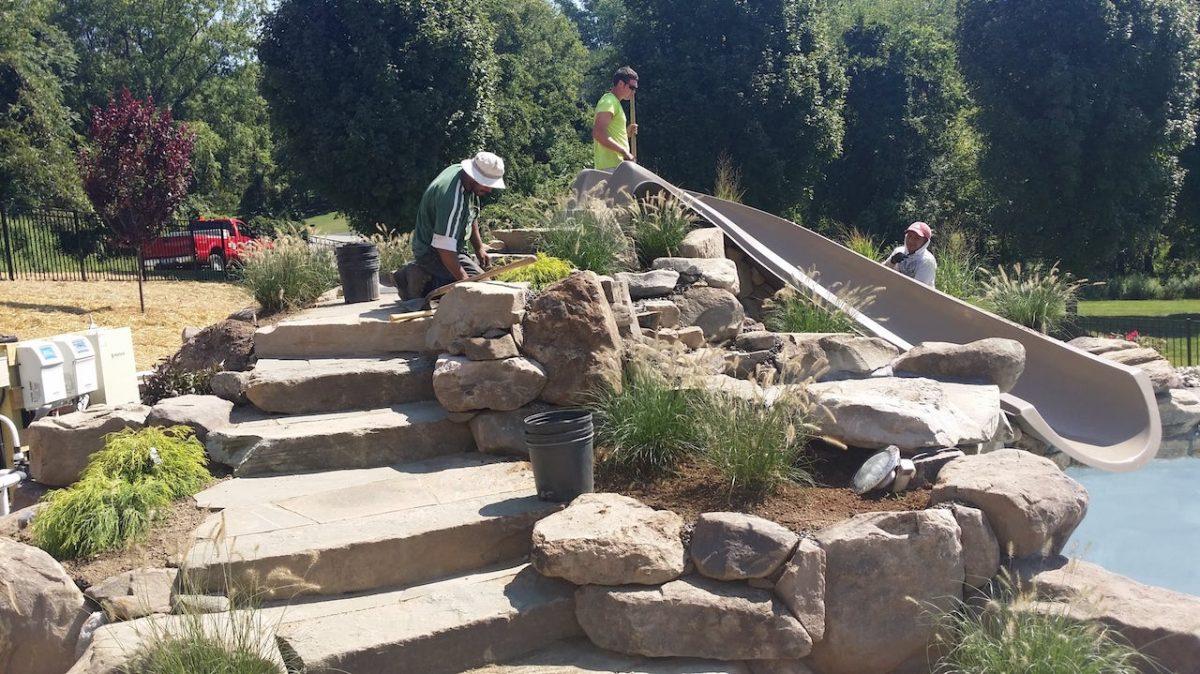
Any landscaping per the plans can be done right here in house by B&M Landscaping. Owned by Mike and Mike same as Arista we can plant, stabilize, pave or perform any other service needed to complete the project. No need to bring in another contractor!
Step 13. Share your experience with us!
We have never missed a deadline for a Commercial pool contractors to be completed as we manage the entire process to keep everything rolling with no hiccups.
We love to hear from our customers. Please take the time to write us a review about your experience. Our company is built on our fantastic reputation and we have our customers to thank for that!